2) Upload on your device the Miniservices by BVRobotics firmware
3) Run your device using the BVIotManager web app.
following this tutorial you will run your device without the need to write one single line of code. Obviously, the Miniservice infrastructure is a complete framework and can allow you also to build your own firmware and to write your own professional applications or APPs or WEB APPs simply using the Miniservice SDK.
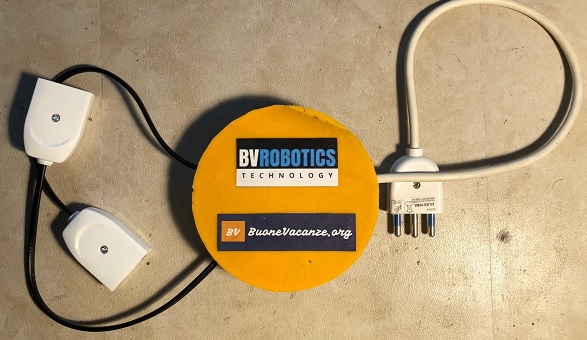
As example for this tutorial we will build a PowerPlug IoT Device with two Power plugs, will upload the Miniservices firmware on it and will controll remotelly each plug using the web app application I wrote, just to simplify the life of people who do not want to write code to use their own devices.
The first thing to do is to download and print the PowerPlug Box (you can also skip this step and build your own frame but, please, be always carefull as you, in this example, are working with 220V Voltage so you need to be 100% sure that no one can touch any cable or connector).
You will download the STL file from the thingiverse project page for this object.

Download the files, print them and go to the first shop of electronic components. You will need to buy the following components/modules:
1) NodeMCU ESP8266-12E (This is the controller we will use. The first version of the Miniservice firmware has been built for this controller only. It can be easily programmed using the standard arduino development environment)
2) AC DC Converter (Switch Power converter). It is used to convert the home AC 220 or 110 current to a valid current to use to power Arduino and the next component in the list.
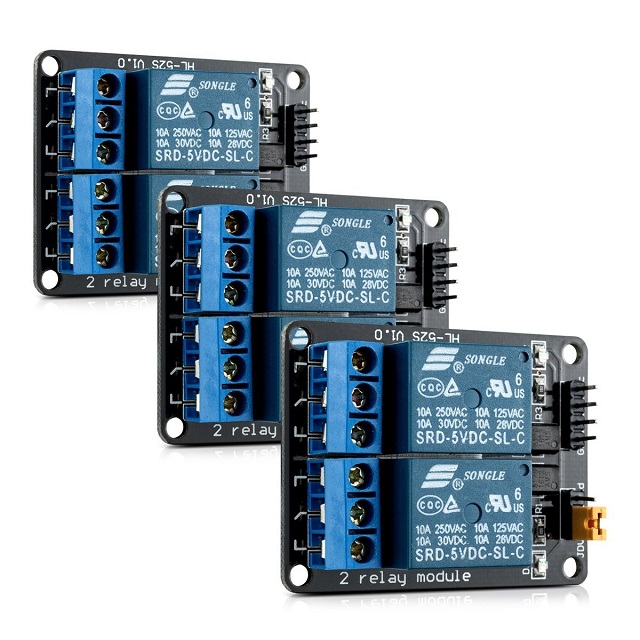
3) 2 Relays module 5V. (NOTE:Relays should be able to support 220V current). This module will be used to drive the current into the two plugs.
4) 1 Male plug and 2 Female ones.
5) Good power Cable. This cable must be able to support the same current (and voltage) supported by the relays


If you have decided to build the IoT Box from the thingiverse website, then your components should be placed into the box using the following picture as main driver:

The box could be also smaller but I preferred to draw something bigger to have easily access to all components. This will allow also to cool down components easily (Do never forget we are working with 220V, please).
The components you bought should be now connected. Connections must be like in the following Fritzing Diagram:

Please note the following:
1) Again, you are still working with 220 voltage so, be carefull and double check every time, every single connection you do. It must be well isolated, stable and fixed.
2) Cables should be fixed to the box. In case you use the Miniservices Box downloaded from Thingiverse then I draw also a connector holder. Print two of them and fix the connectors to the cable following the whole and using two 3mm screws.
3) The Female Powerplug you see into the draw are just indicative. Buy two good 220 female power plugs based on your country requirements.
4) In the draw you will see two single module relays. You can use this configuration or buy a 2 relays module (I didn't find the draw on the fritzing community). In case of a single module you will have, obviously, to connect only one +5V and 1 GRND to the output of the Power Switch.
5) If you decide to build an IoT device with more than two relays, you will, obviously, not be able to use the Miniservice PowerPlug Box and will need something bigger (Like I did with the PowerPlug-Big that I built as my first test device ).
6) If you use more than two relays, please, always start from D0 and do not go over D7. For a PowerPlug device you can drive max 8 relays. The firmware configures as input the first 7 pins and as output all the rest.
Once the box is closed we can start working with the firmware, uploading it on your brand new Miniservice IoT PowerPlug Box
